As the quality of open source models have bridged the gap with closed source models, a lot of developers and organizations are looking to move to open source models for more ownership, control and economics. This post is a deep dive into the open model AI stack that developers need to consider as they move from closed to open source.
Using open models for agentic software development does not require learning how to train models, buying a rack full of GPUs, or becoming an expert in machine learning. From the perspective of an application developer, the stack is surprisingly familiar to using closed-source models. You have a model that answers prompts and a harness that manages the interaction between you and that model.
If you already know how to use Claude Code, you’re much closer to using open models than you probably think.
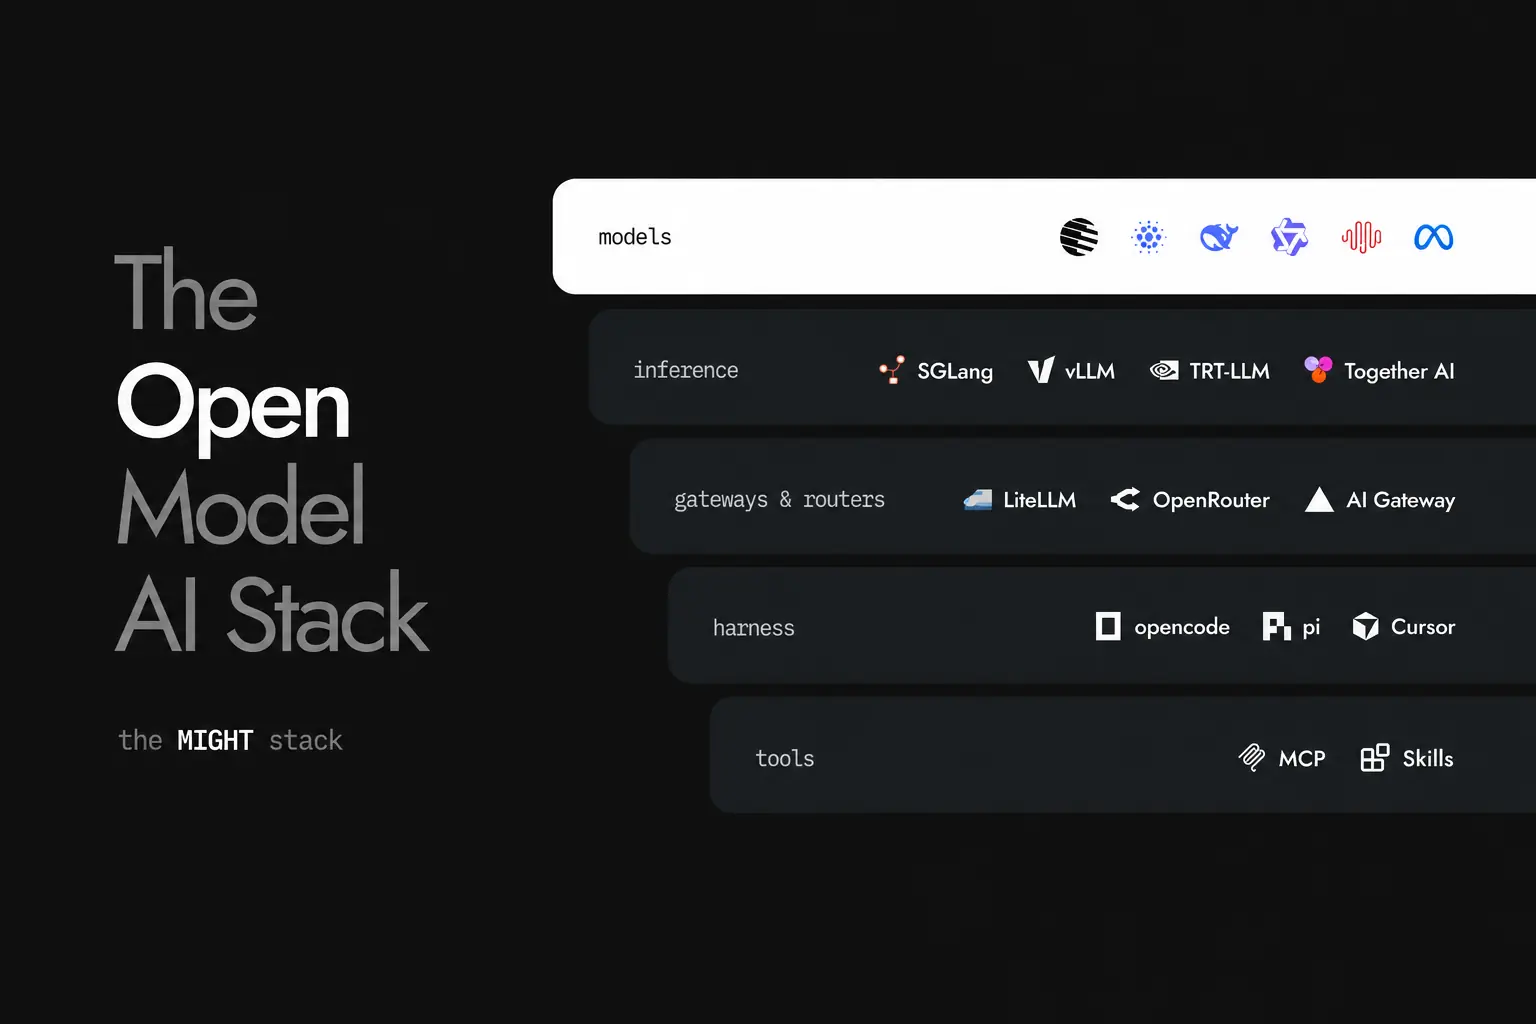
The MIGHT Stack
The stack can be broken down into these separate parts:
- Model: The component that interprets your request and decides what to do.
- Inference: The infrastructure & inference provider where the model actually runs.
- Gateways and routers: The layer that decides which model or provider handles each request, balancing cost, speed, and capability.
- Harness: The application that manages the conversation, gives the model access to tools, and connects it to your codebase.
- Tools (Skills and MCP): Knowledge that tells the model how to do specific tasks, including giving models and the harness access to relevant context
These layers are all independent from one another, which opens the door for technical decisions at each layer that better suit your development workflow. In turn, this allows you to experiment with new models as soon as they are released.
New models appear constantly. Some are faster. Some are cheaper. Some are unusually good at a particular kind of work. If switching models takes a few minutes instead of rebuilding your workflow, you can actually experiment with them.
In this post we will explore each layer of the stack, explain what it does, and look into how it can be customized. Let’s start with the model layer.
Models
A model takes your prompt and generates a response by predicting the most likely next tokens based on its training data. In our stack, it acts as the intelligence layer and it’s responsible for reasoning, decision-making, and deciding what changes to make in your codebase.
Models come in a range of sizes, and in general, larger models tend to have greater capability, better reasoning, and more reliable performance on complex tasks. Most leading open models are now Mixture-of-Expert (MoE) models that contain many specialized “experts”, but only activate a small subset of them for each token generation. This allows them to have larger parameter counts but only activate a smaller of parameters and thus need less compute to run.
Large models
Large models are typically defined by the number of parameters they contain and the amount of compute used to train them. These models have an extraordinary capacity to recognize patterns, relationships, and abstractions from their training data. In practice, “large” usually also implies that the model was trained on more data, for longer, and with significantly more compute resources.
This extra capacity translates into a few important benefits. Large models tend to be better at multi-step reasoning, where they need to keep track of several constraints at once and make decisions that depend on earlier parts of the problem. This makes them excellent choices when given an ambiguous or under-specified task since they can draw on a broader range of learned patterns to fill in missing details.
A good example of a large open model is Kimi K3, which has 1.8T total parameters & 104B active parameters. Reach for large models like Kimi K3 when you need to perform complex tasks, such as:
- Refactoring an existing authentication system
- Upgrading your codebase to a new framework
- Reviewing pull requests
- Understanding why an SQL database all of a sudden became slow
An advantage of large models is their robustness across different types of work. They can switch between writing code, explaining systems, debugging issues, and planning changes without needing tightly scoped instructions. This makes them especially useful in agent-style workflows where the model has to decide what to do next rather than simply follow a single instruction.
Large models also make better use of longer conversations. When they are given many files, logs, or pieces of information at once, they are able to maintain coherence and connect relevant details across the entire input.
This might lead you to believe that larger models are always better, but in practice there’s a tradeoff between large and small models. Next, we’ll look at some reasons to choose smalls model over larger ones.
Small models
The difference between small and large is less about quality and more about how much ambiguity they can comfortably handle.
When a task is clearly defined and tightly scoped, small models can perform on par with much larger ones. If you remove ambiguity by being explicit about what you want, they become extremely effective.
Small models excel at well-specified work since they don’t need to guess your architecture, infer hidden requirements, or explore multiple possible interpretations. They just execute the instruction as given.
An example of a small open model is GLM 5.3 Flash which has 320B total parameters & 18B active parameters. To compare it to Kimi K3, it’s ~6 times smaller and ~20 times cheaper.
These models are surprisingly good when the task is narrow and well-specified, for example:
- Update this function to accept another option.
- Write tests for this file.
- Explain a specific error.
- Review this 50-line function for bugs.
- Rename this API and update its callers.
There is not much ambiguity in these tasks. The model does not need to build a detailed understanding of your entire codebase or decide among several different architecture approaches.
The most important advantage of small models is that they are significantly faster and cheaper to run.
They require less compute to generate each token. In practice this means lower latency responses and a much lower cost per request. For many day-to-day coding tasks, this speed difference is immediately noticeable since the model responds quickly, iterations happen faster, and you can afford to run it repeatedly without worrying about cost.
Rather than thinking of bigger models as being better than smaller models, it’s better to think of these models as two different types of tools in a toolbox.
Models as tools
A larger model might solve a problem more reliably, but it might also be several times slower or more expensive. If a smaller model can make the same one-file change correctly, there is little reason to reach for the larger one.
Over time, start treating model selection more like choosing a tool rather than picking a winner.
Start with a handful of both large and small models, and learn their capabilities and limitations through repeated use. You’ll quickly form an opinion about what tasks in your codebase can be delegated to differently size models.
Next, we'll look at the best places to find models.
Picking the model
New models are released weekly and there are too many models to evaluate all of them yourself.
Leaderboards such as The Open Frontier and Artificial Analysis are useful for discovering what is available and getting a rough sense of how models compare across intelligence, coding ability, speed, and price.
Do not spend too much time trying to identify the single best model on a leaderboard. Benchmarks compress a lot of behavior into one score, while your actual workload is much more specific. A model that ranks slightly lower overall might be excellent at the kind of coding work you do every day.
For reference, the most popular open models in the space right now are GLM 5.3 Flash, DeepSeek V4 Flash, Kimi K3, and MiniMax M3. These change very rapidly though.
After you’ve selected a few models to try out, the next step is to find a provider that hosts them.
Inference providers
Because open models are available outside a single ecosystem, you get to choose where they run. The easiest way to get started is with cloud inference providers and cloud gateways.
The way these providers work is that you send them an API request and they run the model on their GPUs. You pay for the input you send to the model and the output from the model, measured in tokens.
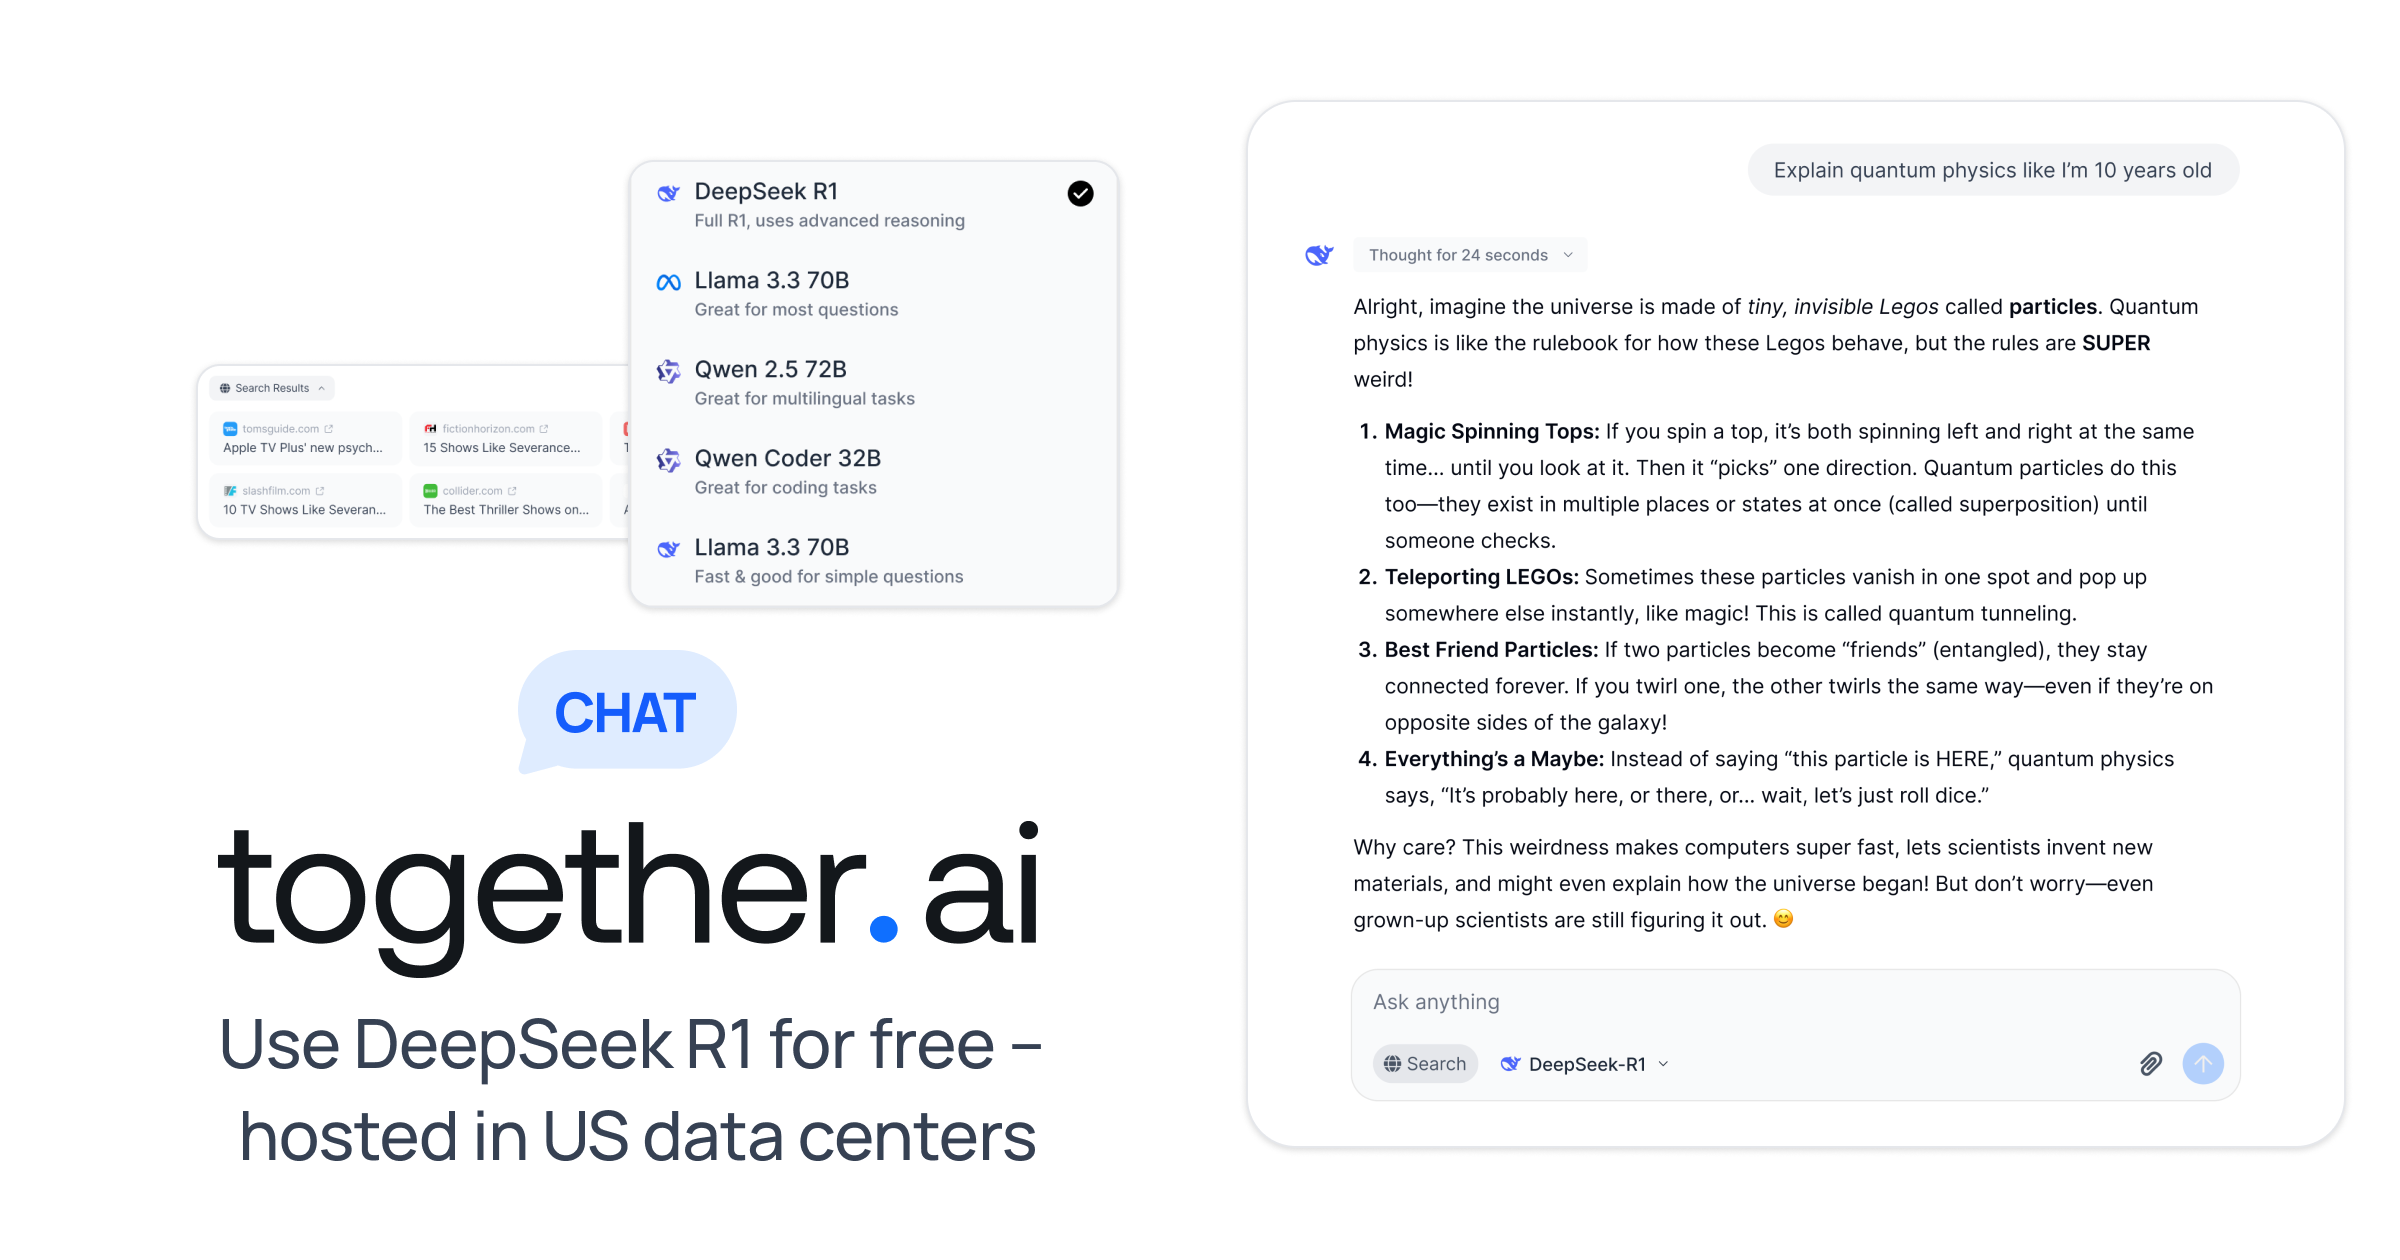
This makes cloud providers ideal for experimentation. If you want to try a new model, you can create an API key, specify a model name, and start sending requests. Providers such as Together AI and others offer large catalogs, so a single account can give you access to many different large and small models.
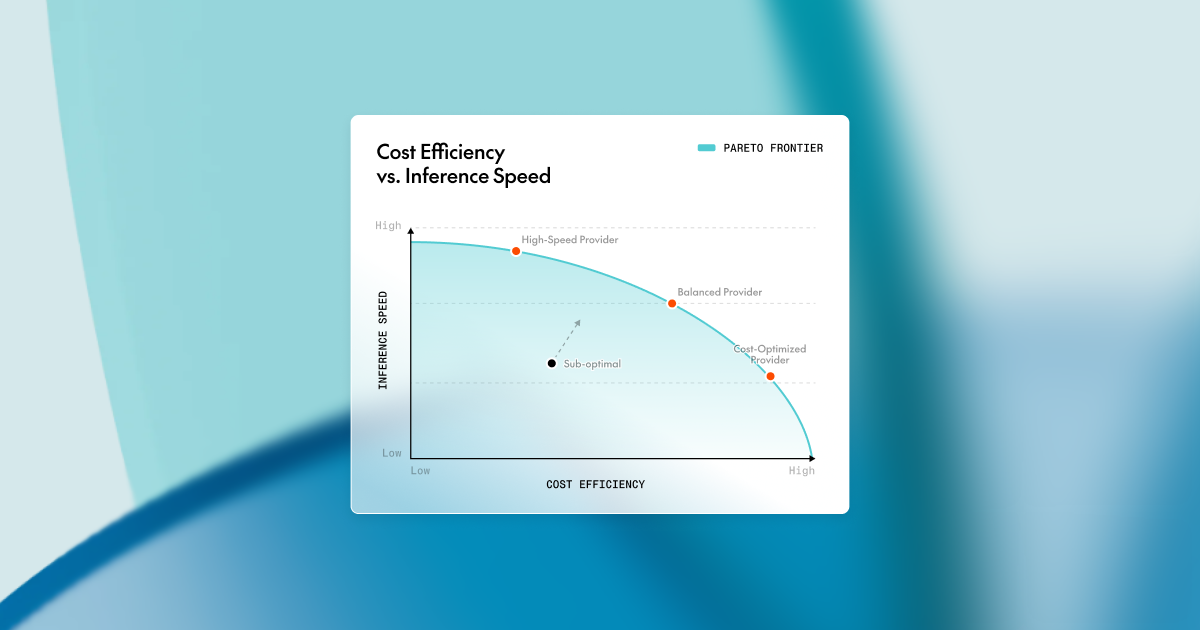
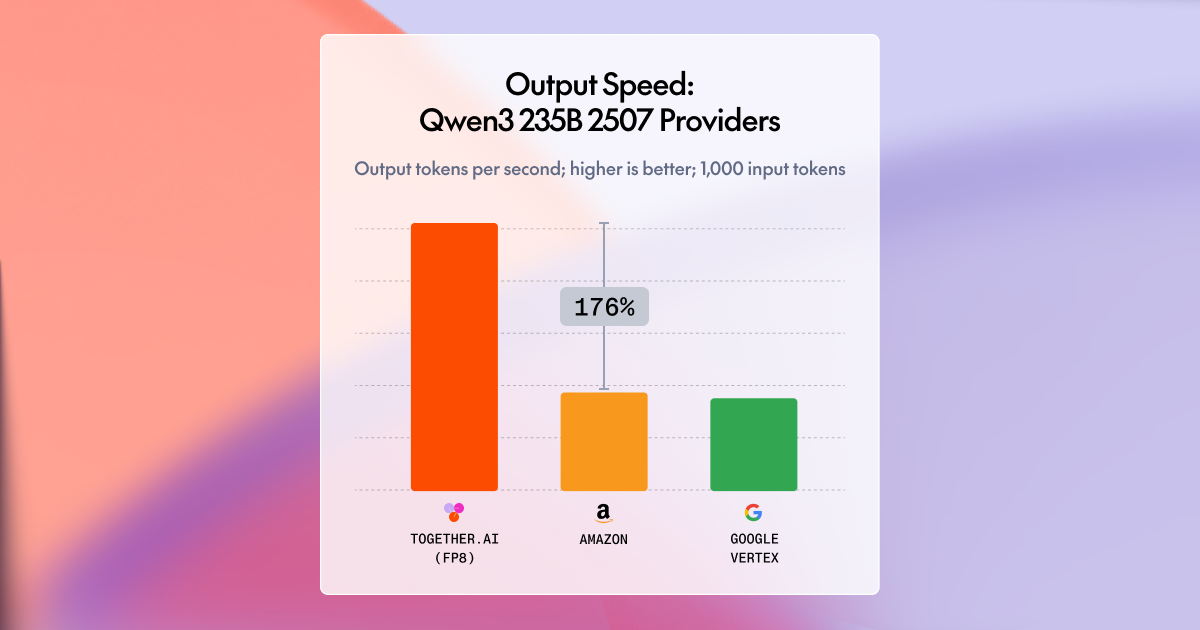
Two providers running the same model should generally produce similar results, especially when you use the same model version and sampling settings. Performance, price, latency, and API features may differ, but the underlying model is still the same.
This separation means that you get to choose a model because you like its behavior, then a provider or gateway based on price or performance.
Gateways and routers
Models are not uniformly hosted by all inference providers, which unfortunately means you cannot use a single inference provider for every model. Gateways and routers solve this by giving you access to many different models across multiple inference providers. This is especially useful if you want to route between closed and open models.
A gateway sits in front of multiple inference providers and aggregates them behind a single API, letting you route requests across different backends, compare pricing and latency, and switch models without changing your code. It acts as a translation and routing layer between you and the underlying inference providers. Two popular cloud gateways worth exploring are https://openrouter.ai/ and https://vercel.com/ai-gateway.
You can also run your own router locally, or on your own server, with tools like https://www.litellm.ai/. These routers give you a single API endpoint that lets you route between different accounts that you’ve already set up with multiple inference providers.
Once you’ve selected an inference provider or cloud gateway, the next step is to set up your harness.
Harnesses
The harness is the part of the stack you interact with. It’s often a program running on your computer that sits between you, your codebase, and the model. It maintains the conversation and gives the model tools it can use to interact with the real world.
Suppose you ask:
Where in this codebase is authentication handled?
The harness sends that question to the model.
The model might decide the first thing it needs to do to answer that question is search the codebase for terms such as auth, session, or login. It responds by asking the harness to run those searches.
The harness runs the search commands on your computer and sends the results back to the model.
Based on those results, the model asks the harness to read the code from several files. The harness adds the contents of those files to the conversation with the model.
After a few rounds of this, the model has enough information to answer your authentication question. It can answer with all of the files and lines in your codebase that contain auth code.
The important part is that the model is not searching your filesystem or executing shell commands. The model decides what should happen and the harness is the piece that makes it happen.
This means the quality of a coding agent depends on more than just the model.
A good harness knows how to expose tools, collect relevant context, manage long conversations, apply patches, display changes, ask for permission when appropriate, and recover when commands fail.
The same model can feel noticeably different in two different harnesses.
Picking a harness
Like models, there is an ever-growing list of harnesses to choose from.
These harnesses come in different forms, including terminal-based CLI harnesses, in-editor extensions that run inside your IDE, and web or desktop applications that provide a more visual interface.
There are also large differences in philosophy.
One harness might expose dozens of features, integrations, background agents, and project management tools. Another might intentionally provide little more than a conversation, a shell, and file editing. Neither approach is inherently better.
Here are a few popular harnesses with support for open models:
- PI: https://pi.dev/
- OpenCode: https://opencode.ai/
- Amp: https://ampcode.com/
Most harnesses make it easy to change from one provider or model to another. In fact, this is often a selling point of open-source harnesses. Switching models is often a single command or configuration change.
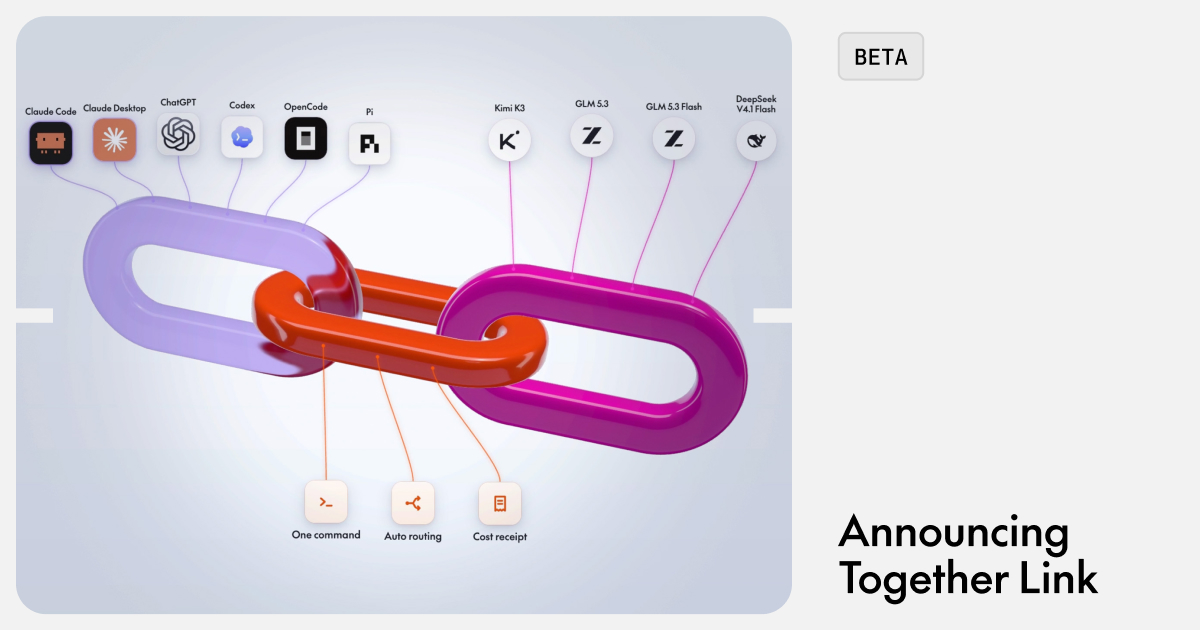
For closed-source harnesses like Claude Code and Codex, you can use tools like TogetherLink to connect them to today’s popular open-weight models.
Once you pick a harness, the next step is to customize it for your workflow.
Tools (skills and MCP)
Harnesses can also be extended with skills and MCP servers. These are useful add-ons that provide instructions and tooling that your harness can share with the model.
Skills are reusable instructions that tell a model how to perform a specific task or work with a particular tool. Instead of putting everything into one large prompt, skills can be loaded by the harness when needed, giving the model specialized knowledge for things like deploying an app, reviewing code, or working with a framework. You can discover community skills on the https://www.skills.sh/ website.
MCP, short for Model Context Protocol, is a standard for connecting AI agents to external tools and data sources through a common interface. These servers let a harness interact with things like databases, APIs, file systems, and developer tools without needing a custom integration for each one. You can find existing MCP servers on the https://mcp.so/ website. Different providers also have their own MCP servers. For example, the Together AI one is here.
Next, we’ll explore how to effectively work with context inside your harness.
Managing context
Once you start switching between models, context becomes important.
Context is everything shared with the model in the current conversation. It includes your prompts, the model’s previous responses, files the harness has attached, shell output, search results, tool calls, and anything else accumulated during the session.
Models have a maximum amount of context they can process. Even before reaching that hard limit, very long conversations can become less useful.
A coding session might start with a narrowly defined task and eventually accumulate twenty files, several failed approaches, pages of test output, and discussions that are no longer relevant.
The model now has to reason through all of that every time it responds.
One of the easiest ways to improve the model’s output is knowing when to stop the current session and start a new conversation.
New sessions
One of the simplest improvements you can make to an agent workflow is starting new threads more often.
For example, if you finish one task make sure to start a new session before beginning the next task. Or, if you tried one approach and want to reconsider the problem from a different angle, start fresh.
And if you switch models, it is better to start fresh there as well.
This is because the conversation itself influences how the model approaches the problem. A new model dropped into a long debugging session inherits all the assumptions, experiments, and dead ends from the previous session.
Plan, implement, and review
One workflow worth experimenting with is to split your prompts across three different models, each with a specific goal. The first model plans, the second model implements, and the third model reviews.
Larger models are excellent planners. They are able to break down open-ended prompts into well-defined and isolated tasks.
From there, use a small model and start implementing each of the tasks one at a time. Create a new session for each task to keep the context small and focused. If any task turns out to be too complicated for the smaller model, switch to a larger model and let it complete the work.
Finally, a large model can review all the work once the tasks are complete. If problems arise during review, this entire process can repeat itself. A new planning session can be created from review feedback causing the whole process to loop back on itself.
One benefit of this approach is that you do not need to turn it into a formal system. Being comfortable using different models allows you to quickly jump between planning, implementing, and reviewing throughout the day as you work in your codebase.
Build for experimentation
Understanding the layers of the stack allows you to easily experiment with different models, providers, and harnesses without having to change your entire workflow. In most cases, swapping a model is as simple as changing a configuration value. Switching providers is just pointing the same harness at a different API endpoint. Even more structural changes, like introducing a router or gateway, can be added without touching how you actually work day to day.
This separation removes the usual friction that comes with adopting new models. Instead of committing to a single system, you can treat models as interchangeable components in a stable workflow. Your harness stays consistent, your tools and shortcuts remain the same, and only the underlying intelligence layer changes. That makes it easy to test drive models on real tasks, compare cost and latency in practice, and gradually build intuition for which models work best for which kinds of problems.
You can iterate on your stack continuously by upgrading models, switching providers, or adding routing layers, without ever losing momentum in your day-to-day development work.
The open stack
The most exciting part of open models is not simply that you have more models to choose from. It’s that the entire stack becomes composable.
You can choose a model based on task, a provider/gateway based on your price and performance, a harness based on how you like to work, and extend that harness with whatever skills and tools your workflow needs.
For example, your coding stack could be OpenCode as the harness, GLM 5.3 Flash running on Together AI, the grill-me & hallmark skills for building great UIs, and Playwright MCP for browser automation.
None of these pieces need to come from the same company. And if a better model comes out next week, you can just swap it in without replacing anything else. With open-weight models, you also have the option to take the model elsewhere or even run it yourself (even on your own laptop with tools like ollama).
This is the larger promise of open models.
Instead of choosing an AI coding product, you can build your own AI coding stack.


.png)


.png)
.png)









.png)